
This post is a beginner’s guide to easy upcycling with a simple guide on how to paint wood furniture and so much more.
Have you ever looked at a tired old dresser or scratched-up coffee table and thought, “This could be so much better with a fresh coat of paint”?
Learning how to paint wood furniture isn’t just a DIY skill—it’s a game-changer for home styling on a budget. Upcycling lets you transform thrifted finds or forgotten pieces into stylish, personalized treasures without the hefty price tag of new furniture.
The best part? You don’t need fancy tools or expert skills to get started. This guide strips away the overwhelm and gives you the simple, no-fuss basics—perfect for your first project. Whether you’re refreshing a flea market gem (like these thrifted porch decor ideas) or reviving a family hand-me-down, a little paint and creativity go a long way. Let’s dive in!
- Supplies Needed To Easily Upcycle With Paint A Budget-friendly list.
- How to Paint Wood Furniture – A Beginner’s Step-by-Step Tutorial
- Quick Tips To Successfully Paint Wood Furniture
- How to Paint Wood Furniture: 6 Stunning Transformations
- FAQ (Common mistakes, paint types, drying time)
- Start Your Upcycling Journey with Confidence
Disclosure: This post contains affiliate links. Purchases via these links may earn me a commission at no extra cost to you.
Supplies Needed to Easily Upcycle with Paint: A Budget-Friendly List.
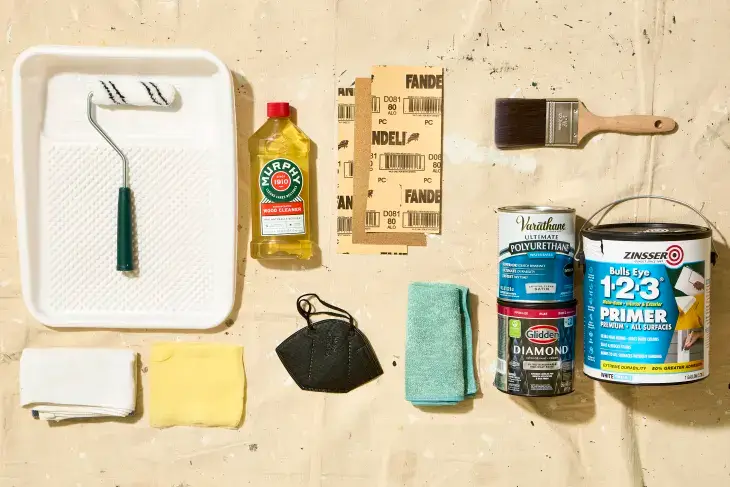
If you’re wondering how to paint wooden furniture, the good news is—you don’t need a long list of fancy tools to get started. Upcycling furniture, whether it’s a thrifted find or something you already own, can begin with just the basics. A sanding block and some sandpaper are perfect for your first project, and you can always upgrade to a sander later on.
Here’s a simple, budget-friendly supply list to help you get started:
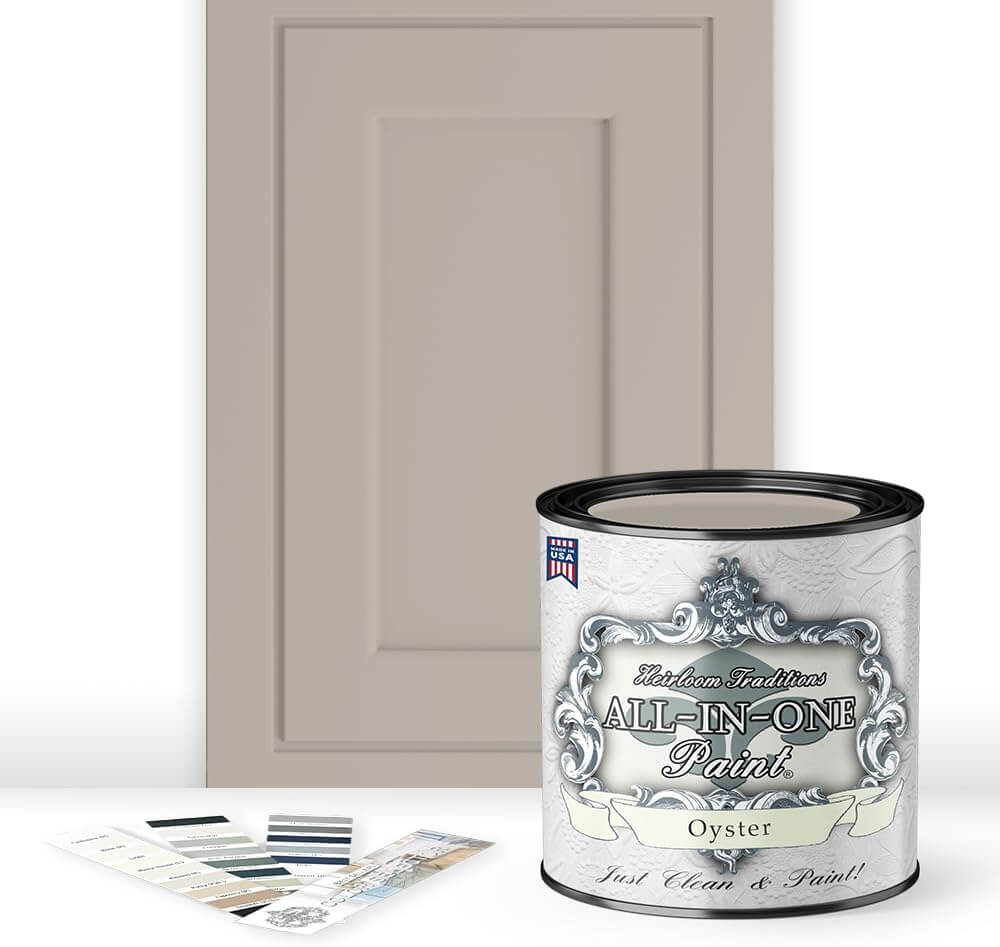
Furniture Paint
Choose budget-friendly options like chalk paint or tester pots for smaller projects
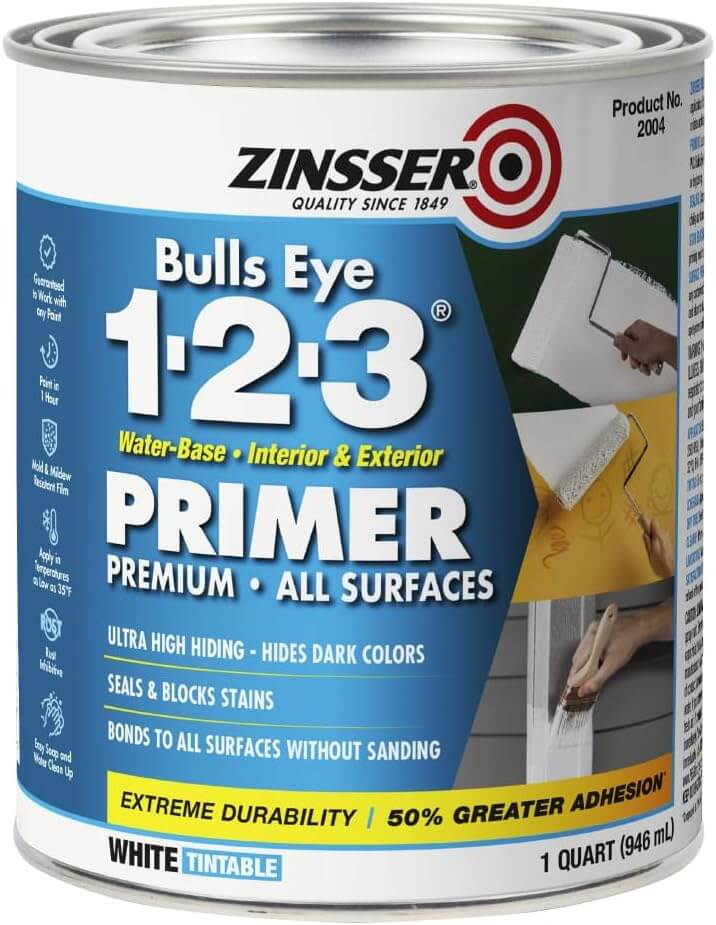
Primer
Optional, but helps paint adhere better and last longer, especially on glossy or dark surfaces
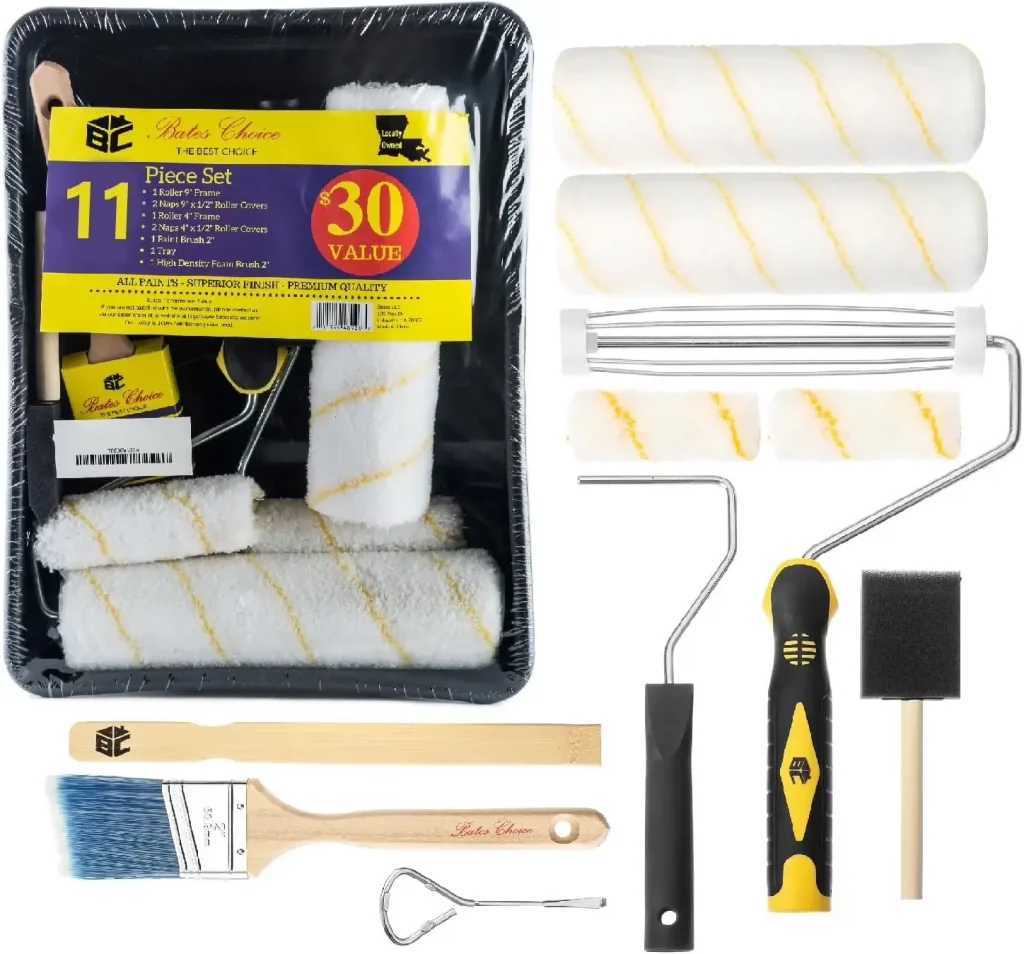
Paintbrushes or Rollers
A couple of decent-quality brushes or a small roller for smooth finishes
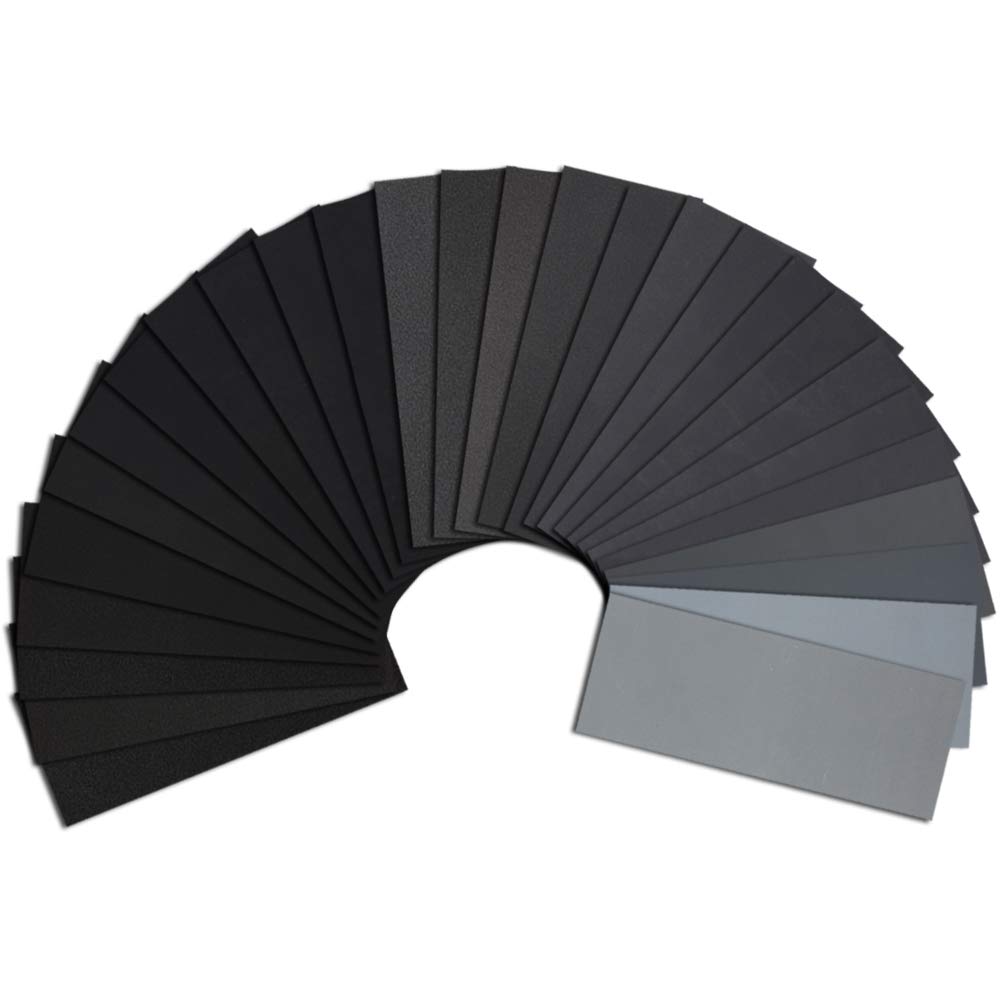
Sandpaper (various grits)
For prepping surfaces and smoothing between coats
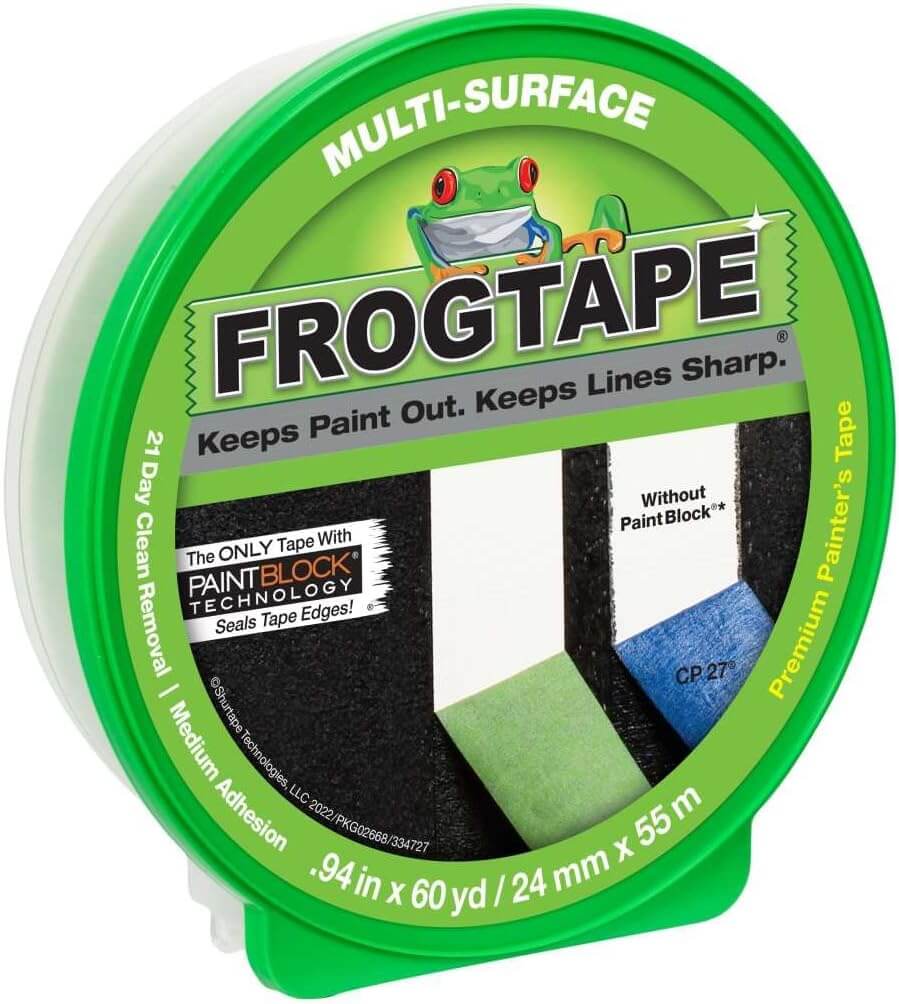
Painter’s Tape
For clean edges and creative paint designs
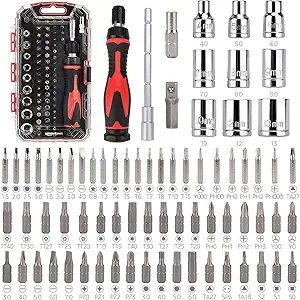
Screwdriver
To remove hardware like knobs and handles before painting
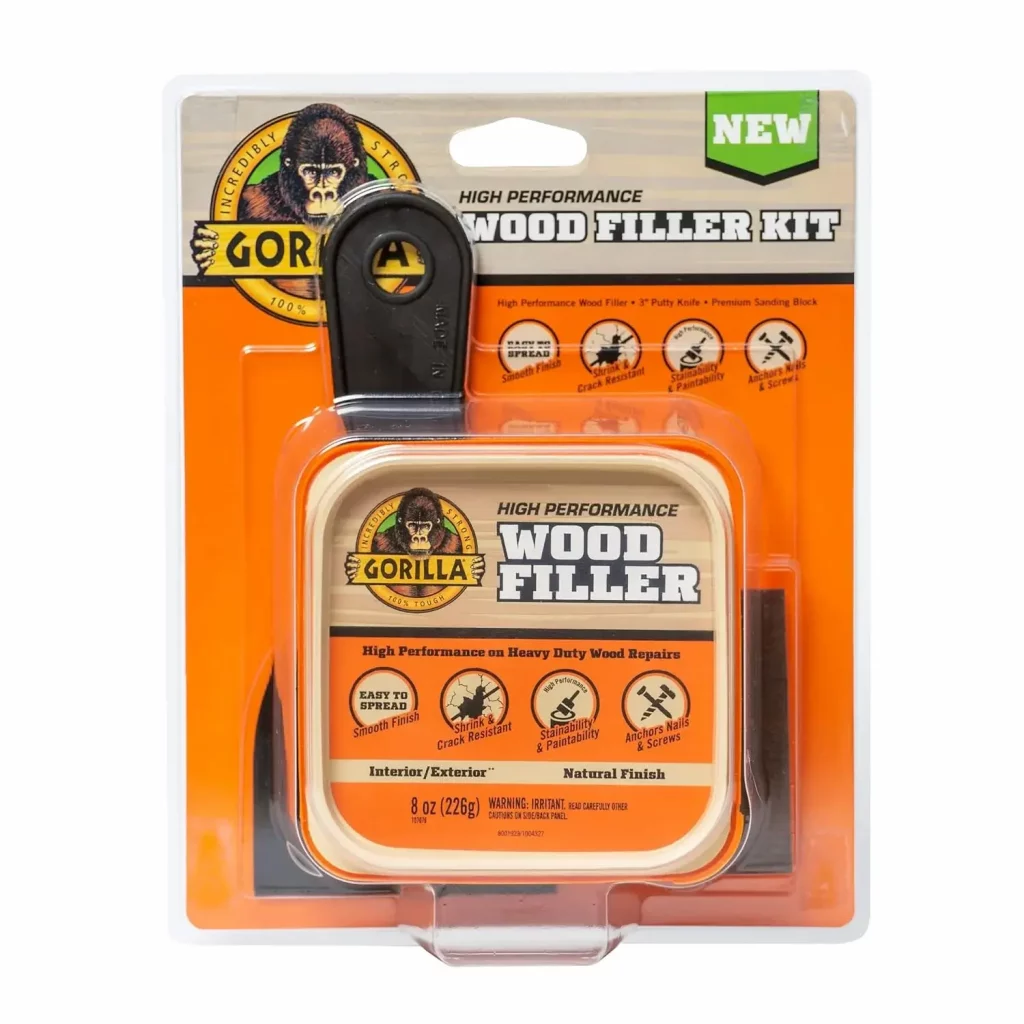
Strong Glue or Wood Filler
For minor repairs or filling holes and cracks
Cloth or Tack Cloth
To wipe away dust after sanding

Protective Finish (optional)
Wax or clear varnish to seal and protect your paint job, especially for high-use items
How to Paint Wood Furniture – A Beginner’s Step-by-Step Tutorial
How to Paint Wood Furniture Instructions
Follow these simple steps on how to paint wooden furniture and give your old pieces a fresh, upcycled makeover. It’s an easy, budget-friendly way to transform thrifted finds or tired furniture into something you love.
Clean the Furniture
🧼 Wipe down the piece with warm water + mild soap or an all-purpose cleaner to remove dirt, grease, and old polish.
🧼 Let it dry completely before sanding. (Damp wood can ruin your paint job!)
Remove Hardware
🪛 Take off knobs, handles, and hinges with a screwdriver.
🪛 This ensures smoother painting and prevents paint clumps on hardware.
Repair Imperfections (For a Flawless Finish!)
🧰 Fill dents, cracks, or holes with wood filler.
🧰 Let it dry, then sand smooth with fine-grit sandpaper.
Strip Old Paint or Varnish (Skip this if your piece is unfinished or lightly coated.)
♾️Sanding: Use medium-grit sandpaper (80-120 grit) for thick paint/varnish.
Switch to fine-grit (220+) for final smoothing.
♾️Chemical Strippers: Apply citrus-based or gel stripper (eco-friendly options available).
Scrape off softened paint with a plastic putty knife (metal can scratch wood).
♾️Heat Gun: Hold 6+ inches away to avoid scorching.
Scrape paint as it bubbles up.
Safety Tip: Wear gloves, goggles, and work in a ventilated area!
Sand the Surface
🧽 Lightly sand the entire piece with medium-grit sandpaper (120-150 grit) to remove gloss and help paint stick.
🧽 For upcycled furniture, sanding is key for paint adhesion.
Wipe Off Dust
✨Use a tack cloth or a damp rag to remove all sanding dust.
✨A clean surface = smoother paint application.
Apply Primer
🖌️ Use a stain-blocking primer (especially if painting over dark wood).
🖌️ Let it dry fully (check the label for drying time).
Sand Between Coats (For a Pro Finish!)
🧽Lightly sand the primed surface with fine-grit sandpaper (220 grit).
🧽Wipe off dust before painting.
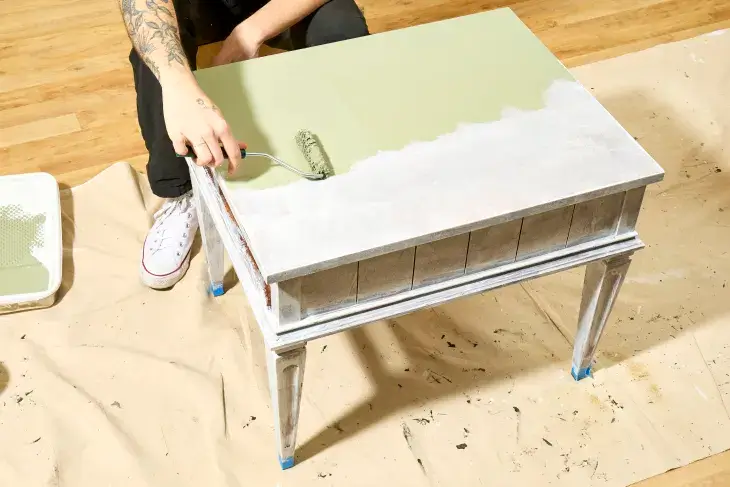
Paint Your Furniture
🖌️ Use a high-quality brush or foam roller for even coverage.
🖌️ Apply thin coats (2-3 coats usually needed).
🖌️ Best paint for wood furniture: Latex (water-based) or chalk paint (great for upcycling!).
🖌️ Sand lightly between coats for a smooth finish.
Reattach Hardware
🪛 Once the paint is fully dry (usually 24 hours), screw handles and knobs back on.
Optional: Seal for Durability
🖌️ This protects your upcycled piece from scratches and wear. For high-traffic furniture (like tables or chairs), apply a clear topcoat (polyurethane or wax).
Quick Tips To Successfully Paint Wood Furniture
✅ Drying Times Matter!
- Primer: 1-2 hours
- Paint: 2-4 hours between coats
- Full cure: 24-48 hours before heavy use
☑️ Brush Techniques
- Use long, even strokes to avoid streaks.
- A small angled brush helps with edges and details.
✅ How To Use Chalk Paint
- Work quickly, chalk paint dries fast!
- Thin with water if you want a smoother finish or layered effects.
- Seal with wax or lacquer:
- Apply chalk paint wax with a brush or lint-free cloth, buffing in all directions. Wipe off excess.
- For high-traffic or outdoor furniture, use a chalk paint lacquer instead for extra durability.
- Curing time: Furniture is touch-dry in hours, but wait 2 weeks for full hardness before heavy use.
- Chalk paint is great for beginners. Chalk paint requires minimal prep (no sanding needed!) and hides brushstrokes, making it ideal for upcycling wood furniture.
☑️ Upcycling Hack
- Lightly distress edges with sandpaper for a shabby-chic look
How to Paint Wood Furniture: 6 Stunning Transformations
A Simple Upcycle Project
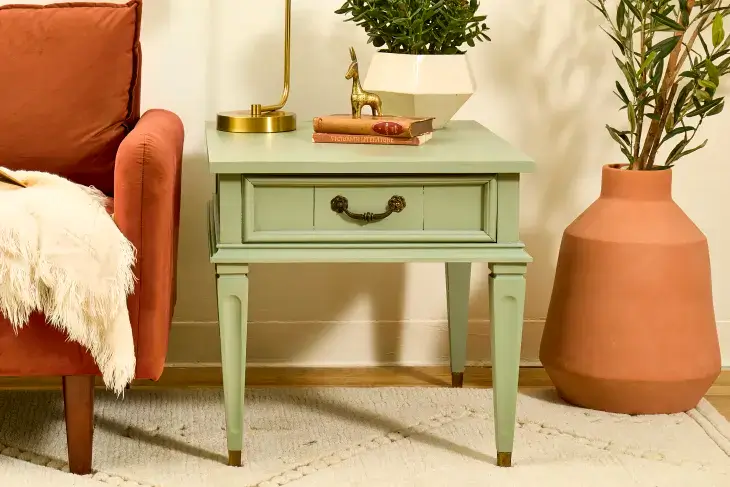
Once you know how to paint furniture, the sky’s the limit.
Start simple, try your first project on something small, like a side table.
How to Paint A Dresser with Stencils or Patterns
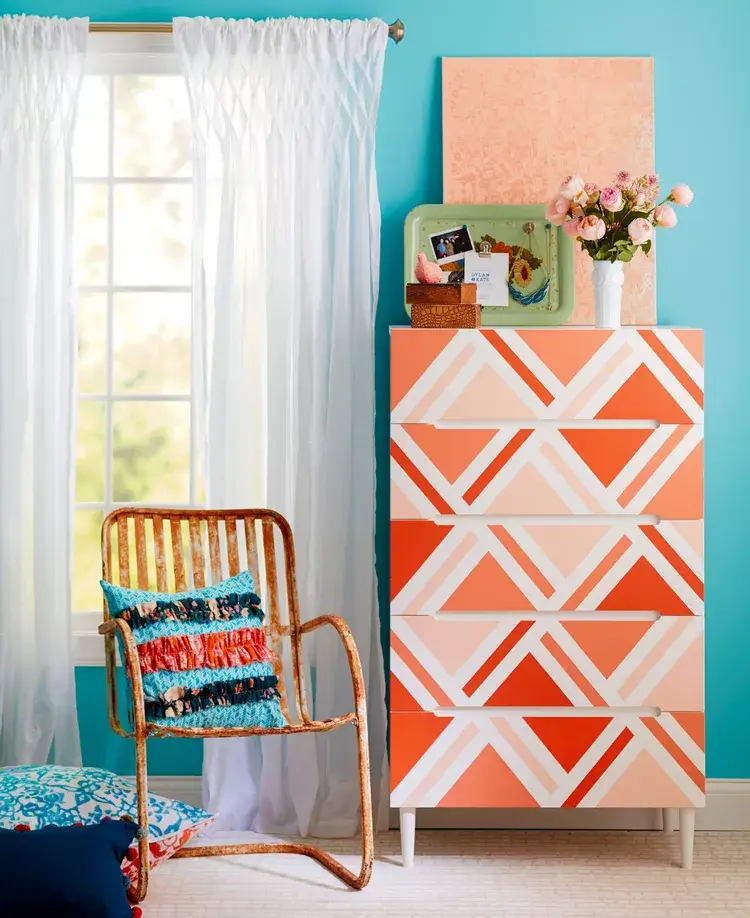
With a little painters’ tape and your new skills in how to paint a dresser, you’re ready to upcycle a fun piece for your room.
Choose a pattern and colors that suit your space and reflect your personal style.
How to Refinish Furniture for a Soft, Neutral Finish
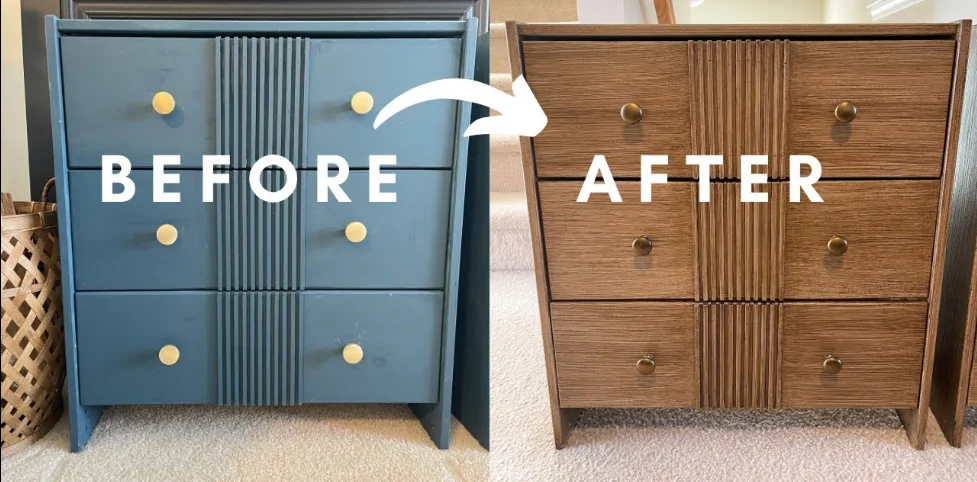
Upcycling furniture doesn’t always mean reaching for the paintbrush.
Sometimes, less is more. Once you know how to refinish a dresser, you can skip the paint and use a clear varnish instead. Perfect for showing off the wood’s natural grain.
It’s a simple way to refresh a piece while keeping your home styling warm and organic.
Repaint Furniture with Bold Colors for a Statement Look
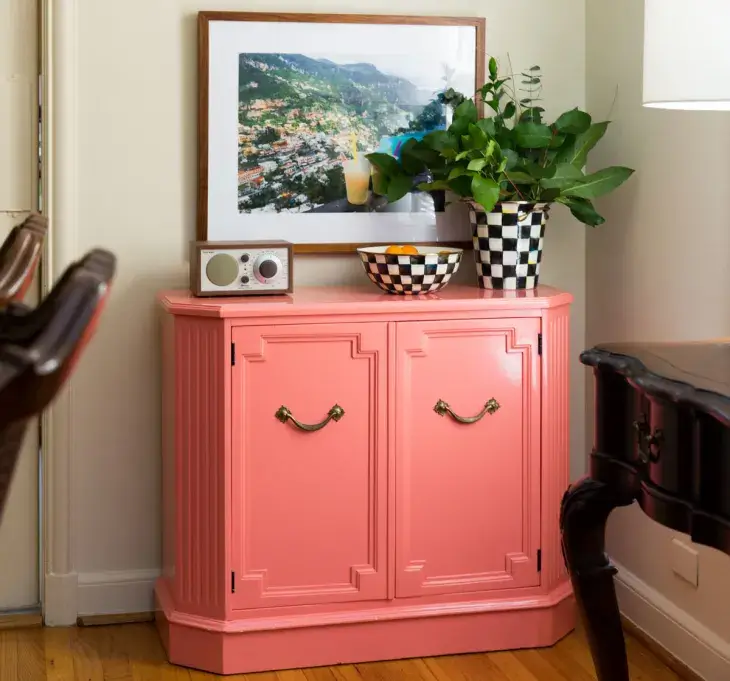
Knowing how to repaint furniture lets you go bold with your style, without spending a fortune.
Hardware stores often have vibrant paint colors on sale, so you can upcycle your piece and make a statement, all on a budget.
An Idea For How to Paint Wood Furniture with Chalk Paint In The Kitchen
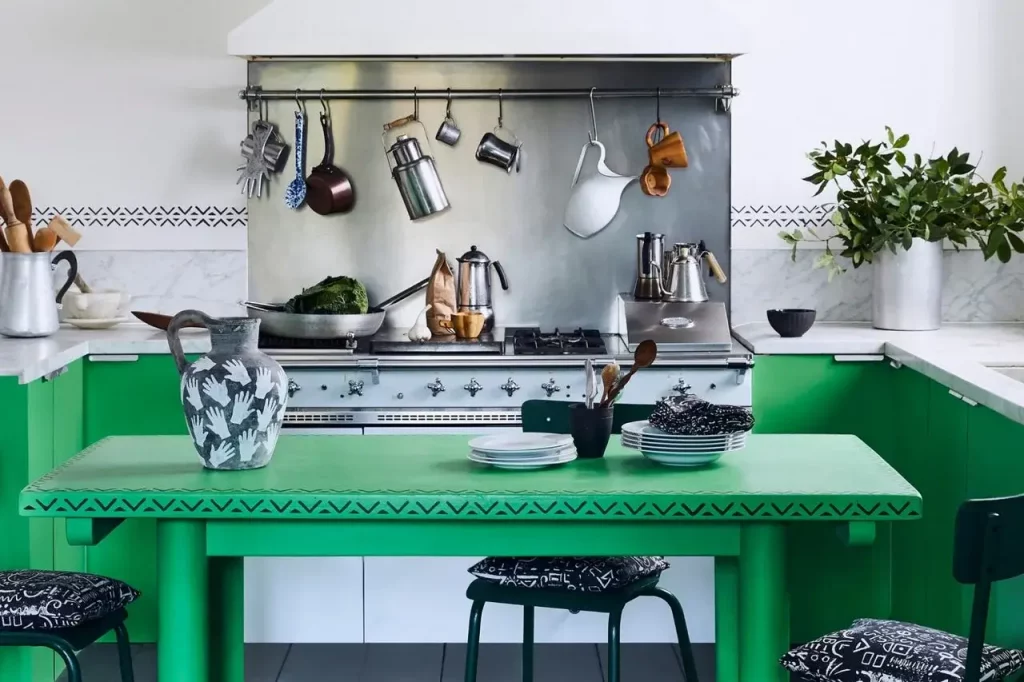
Both the kitchen cabinets and table are painted with the same chalk paint, creating a cohesive look.
If you’re learning how to use chalk paint, you’ll love how easy and versatile it is—perfect for simple DIYs and effortless home styling..
Chic and Easy Dining Chair Idea
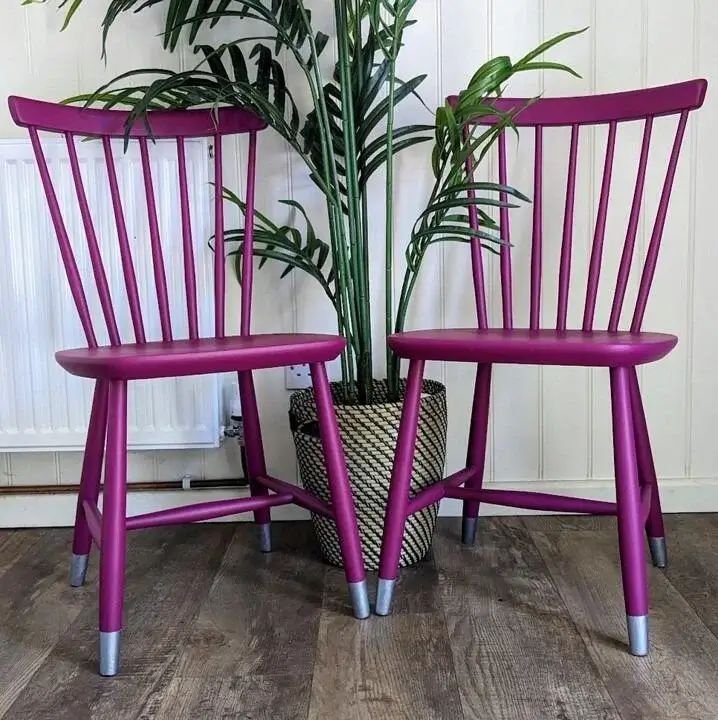
Even the simplest upcycle projects can make a big impact on your home styling.
Painting your dining room chairs is an easy yet stunning way to add a pop of color to your kitchen or dining area.
FAQ (Common mistakes, paint types, drying time)
Sometimes, if using thin, even coats and high-quality paint.
To prevent marks:
💡Lightly sand between coats with 220-grit sandpaper.
💡Use a foam roller for the smoothest finish.
💡For smooth finishes, use a high-quality synthetic brush (angled brushes work best for edges).
💡For flat surfaces, a foam roller minimizes streaks.
💡Chalk paint and thicker formulas apply well with brushes, while latex works with both.
💡Rollers use more paint but cover large areas faster.
💡Brushes waste less paint and are better for details.
Tip: Thin coats save paint and dry more evenly.
💡Water-based paint (latex/chalk): Rinse brushes/rollers with warm soapy water until water runs clear.
💡Oil-based paint: Soak in paint thinner, then wash with soapy water.
💡Pro tip: Wrap brushes/rollers in plastic wrap (or foil) for short breaks to avoid drying.
Start Your Upcycling Journey with Confidence
And just like that, you’re ready to paint wood furniture like a pro! From choosing the right supplies to mastering chalk paint tricks, you have everything you need to upcycle confidently. Remember: the magic is in the doing. Start small, embrace imperfections, and watch how a simple paint job can elevate your home styling. One brushstroke at a time.
Loved this guide? Pin it for later or share your before-and-after pics with us!
Ready for more creative, budget-friendly ideas? Don’t miss our guide to easy upcycling ideas to transform everyday items, perfect for taking your DIY skills to the next level.